Bright Bottle Rack Tutorial – By Emma Blake
MATERIALS/ITEMS LIST –
Cardboard (the kind from scrap boxes)
Spray Paints
Studio light stamps
Ink and distress ink
Glue Gel

Good morning, its my turn on the blog today and thought I would tell you how I decorated the super popular bottle storage.
1. I built up the storage which is super easy and then glued cardboard to all the sides (not the bottom) I peeled the top layer of card off to reveal the corigated but under and then I glued lace on aswell and put to one side to dry.
2. I used spray paints to paint the storage and it I didn’t even Need to prime the mdf first. I went out side and used nice bright colours, I wanted a ombre look so I sprayed the yellow first and then the blue and then the yellow again to blend making sure I didn’t cover all the colours back over and left to dry.
3. The trees, leaves, flowers and animals are studiolight stamps that I stamped lots of times and coloured with studiolight light markers, they are watercolour inks and are lush and bright.
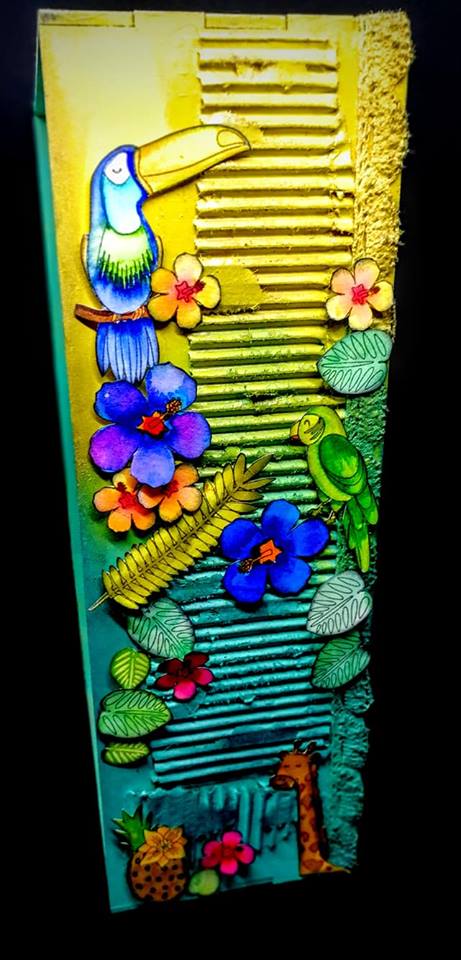
4. I cut all the stamps out and went around the edges with distress ink to hide any white areas, I also went around the edge of the storage and over the texture to make it pop.
5. I used glue gel to glue all my stamped images on and I have to say I was really pleased with how it turned out and its super handy so I don’t have to hunt for my bottles anymore.
Emma 🙂
We would love to see what you create so please share in the Facebook group
To keep up to date with the blog and for exclusive offers and discounts why not Sign up for the Samantha K newsletter?
[mc4wp_form id=”1900″]


