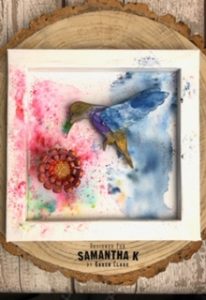
Humming Bird canvas – By Karen Clare
MATERIALS/ITEMS LIST –
Materials
Box canvas
Masking tape
Brusho colours
Water spritzer
Paint brush
Heat tool
I received great feedback for this piece and hope you enjoy the inspiration using the fab Humming bird kit which is so cute and easy to construct.
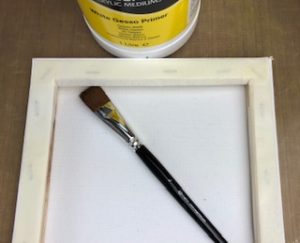
- I used the reverse side of a box canvas and covered the stapled edges with masking tape.
2. Then applied gesso primer and dried. The tape wrinkles but that adds to the arty/mixed media affect which is ok.
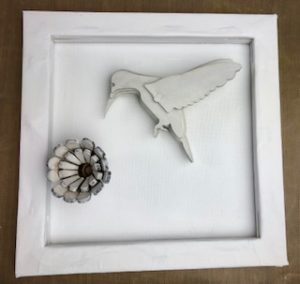
3. After assembling the hummingbird and flower I again applied gesso. I wanted any areas not coloured to show through white and for the colours to be quite vibrant which is why I used the white primer. You can apply Brusho to the bare MDF if you prefer.
4. I then decided where I wanted the elements to sit on the canvas and removed the hummingbird.
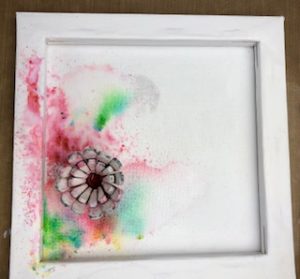
5. Without adhering the flower I simply placed it in position on the canvas and sprinkled then spritzed water on to the Brusho to colour the canvas in that area.
6. I then removed the flower and added the Brusho colour to it, drying and building colour as I went along. I ensured the canvas was dry too.
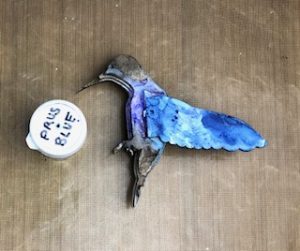
7. Next I coloured the bird with Brusho’s, I roughly water coloured with a brush by mixing the colour/s with water on my craft mat. Drying and adding more colour until I was happy with it.
8. I then sprinkled Brusho colour and spritzed water to colour the right side of the canvas behind where the bird would sit, again layering and drying as I went.
I forgot to take a photo at this stage!
9. Once the canvas and elements were coloured and dried I adhered both the flower and hummingbird to the canvas. This can be done with either a glue gun or gel medium.
Happy crafting
Karen x
We would love to see what you create so please share in the Facebook group
To keep up to date with the blog and for exclusive offers and discounts why not Sign up for the Samantha K newsletter?
[mc4wp_form id=”1900″]
