Felt case – Diy project tutorial
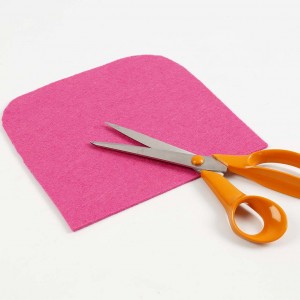
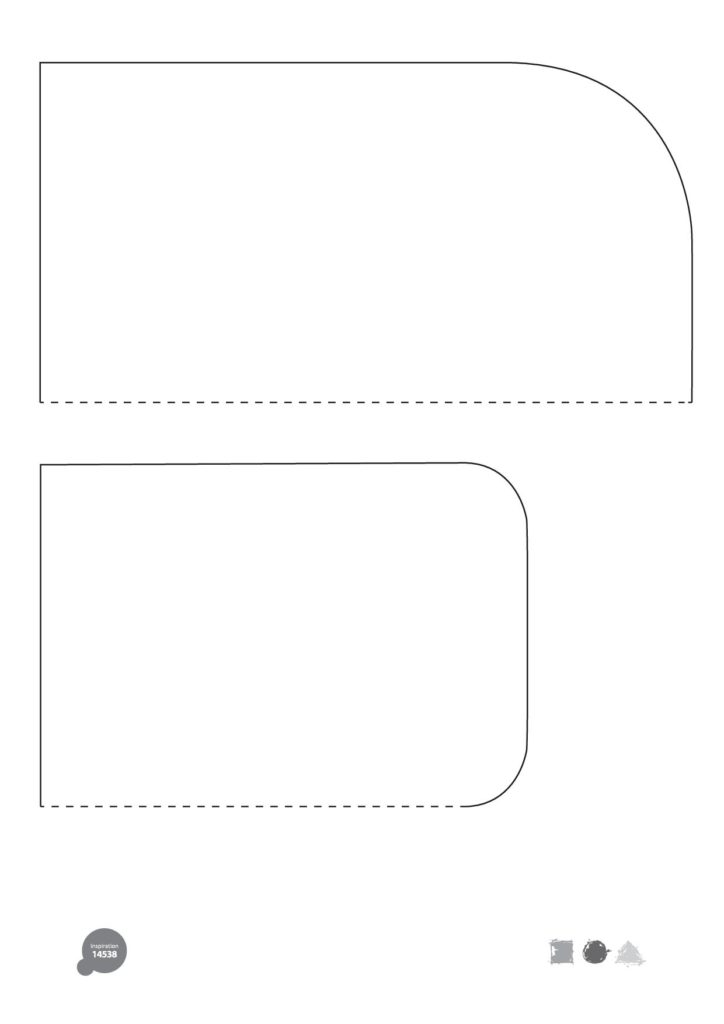
A cute felt case, perfect for glasses or phones. Template below. You can always enlarge or shrink the template to create a smaller case 🙂
Step 1.
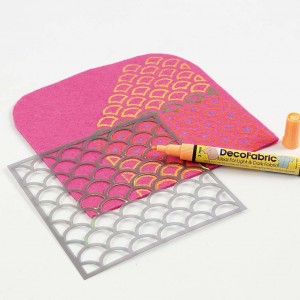
Use a stencil on top of the piece of felt and draw patterns according to your own taste. You could even just freestyle some drawings or sayings on there! Use textile markers and feel free to use different colours. Leave to dry.
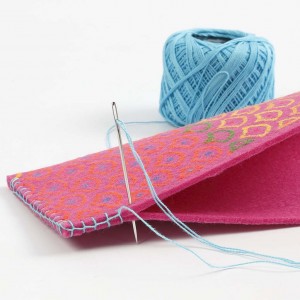
Double over the piece of felt and sew together along one side and the bottom. Use buttonhole stitches or tacking stitches and cotton yarn.
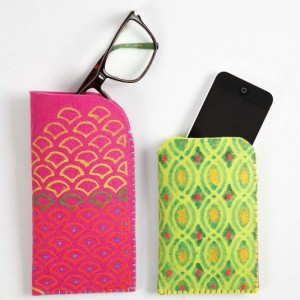
Thats it…All finished…How cute are these!
Don’t forget to BOOKMARK this page, so you can find it again when you need it.
To use the template, left click to open it, then right click on the template and select ‘save image as’ and pop the picture somewhere you can find it. Print it out as normal and use.
Why not pop over to our FB page to share your creations?
More coming soon!
Have fun creating.
I hope you will pop back again soon for my next post. Please feel free to sign up for the newsletter using the box in the side bar or by entering your email address below. That way you won’t miss out on any hints, tips or Freebies too.
[mc4wp_form id=”1900″]
