Pick and Mix tags – By Mags Woodcock
MATERIALS/ITEMS LIST –
Samantha K Pick and mix shapes
Posca Pen(white) or Uni-ball Signo pen (white)
Paper scraps
Acrylic paints
Sharpie pens
Finnabair Metallic Wax
Computer printed sentiments on white paper
Distress Oxide ink pads
Black fine-liner pen
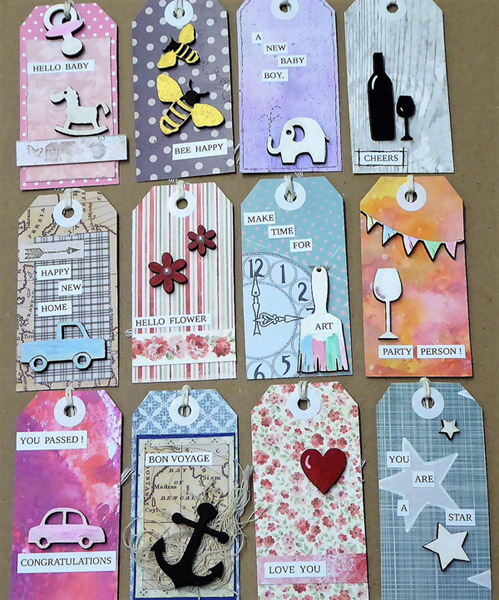
Hello, Mags here, today I am sharing a set of tags I created with some of the mini MDF shapes available in the pick and Mix selection.
I loved creating these and it gave me the opportunity to use up lots of scraps of paper which were too nice to throw away. The tags are also nice to add to a card as an embellishment on top of some mats and layers.
Anchor tag
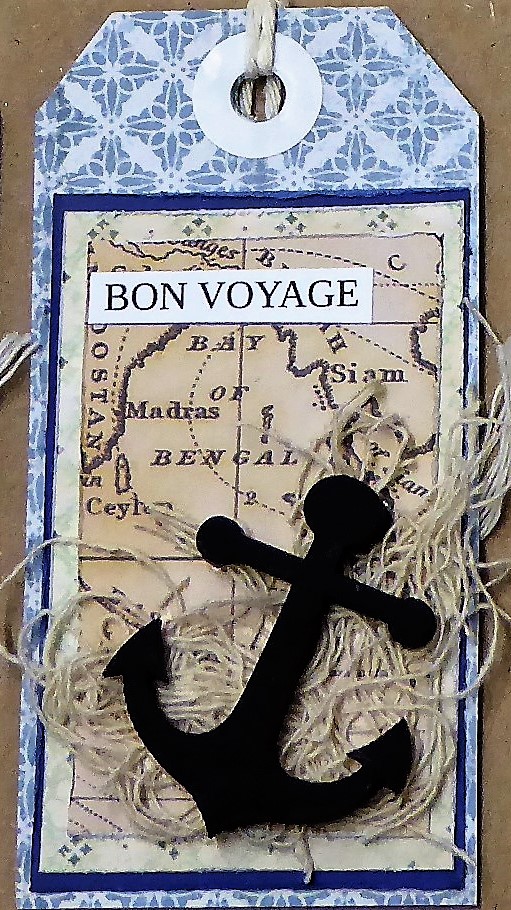
Colour the mini anchor with black acrylic paint, set aside to dry. Layer up panels of paper scraps to fit with the theme of travel, attach to the tag with foam tape for dimension. Add cotton mesh for texture and add the MDF anchor, finish with the words Bon Voyage.
Bee tag

Cover the tag with scrap paper. Colour the bees with black acrylic paint and the wings and body with gold metallic wax. Doodle dashes for the flight of the bees and add the words
Cheers tag
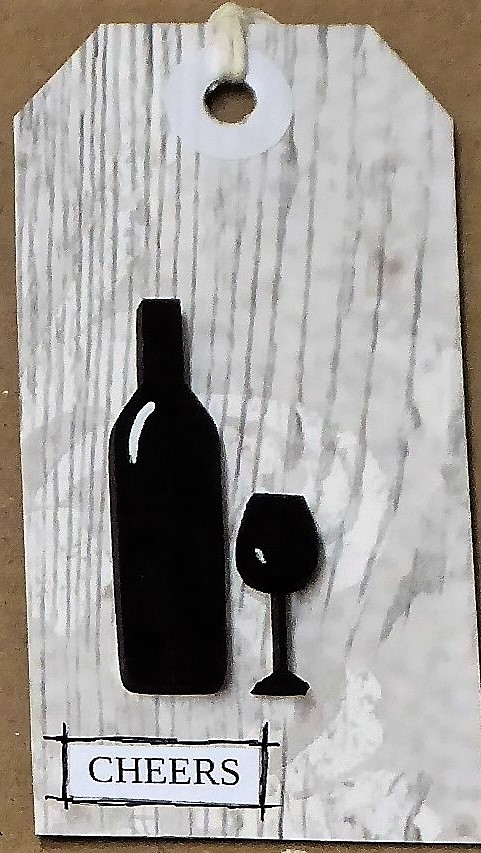
Use a wood-grain scrap of paper to cover the tag. Colour the bottle and glass with a black Posca pen and add a highlight with a white pen. Finish with the words and some doodling around the edges.
Congratulations tag
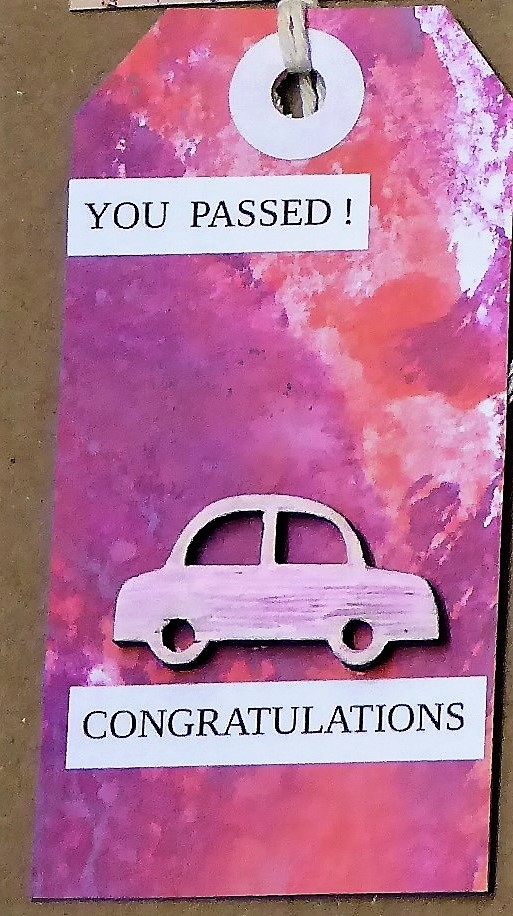
Colour the car with a Sharpie pen and then straight away a white Posca pen, set aside to dry. Cover the tag with a Distress Oxide background paper scrap, add the car and finish with the sentiment.
Elephant tag
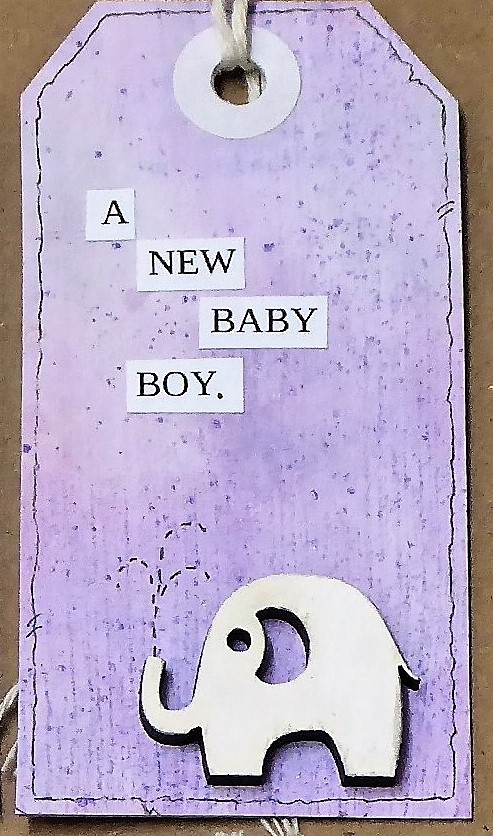
Cover the tag with scrap paper and doodle a border around the edges. Paint the elephant with white acrylic, glue to the tag and add a doodled water spray from the trunk.
Heart tag
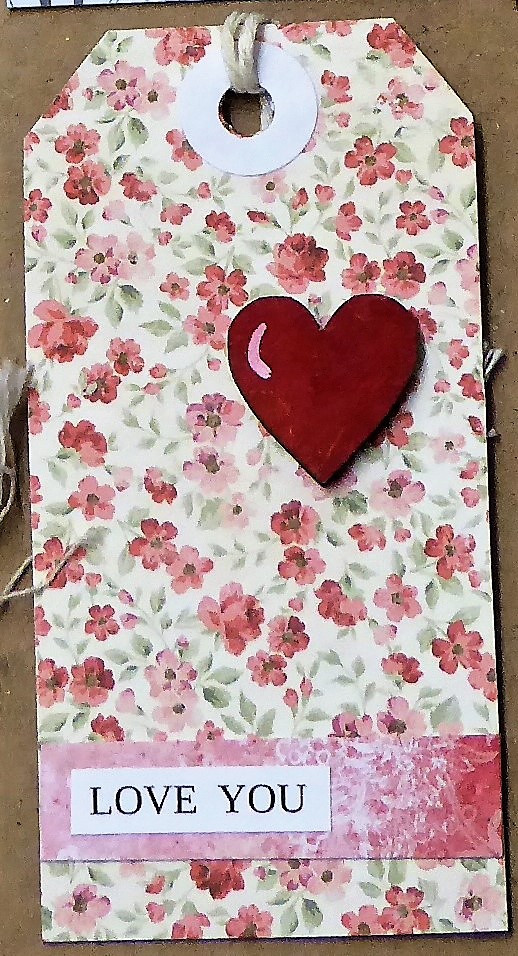
Colour the heart with red paint and once dry add a white highlight with a white pen. Cover the tag with a pretty paper, add a strip of coordinating paper and a sentiment. Add the red heart.
Hello flower tag
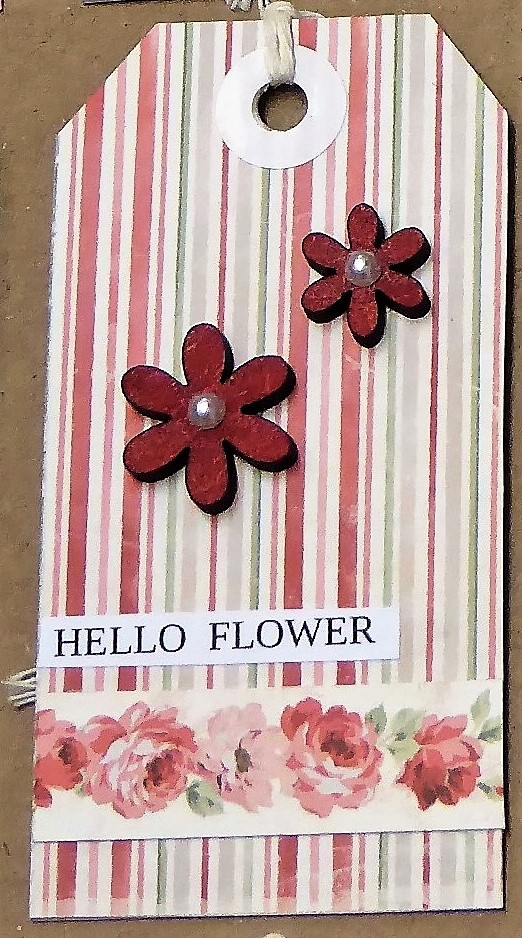
Paint the flowers with red acrylic paint and add a gem to the centre of each. Again cover the tag with floral paper and add a strip of coordinating paper,finish with the sentiment.
Baby tag
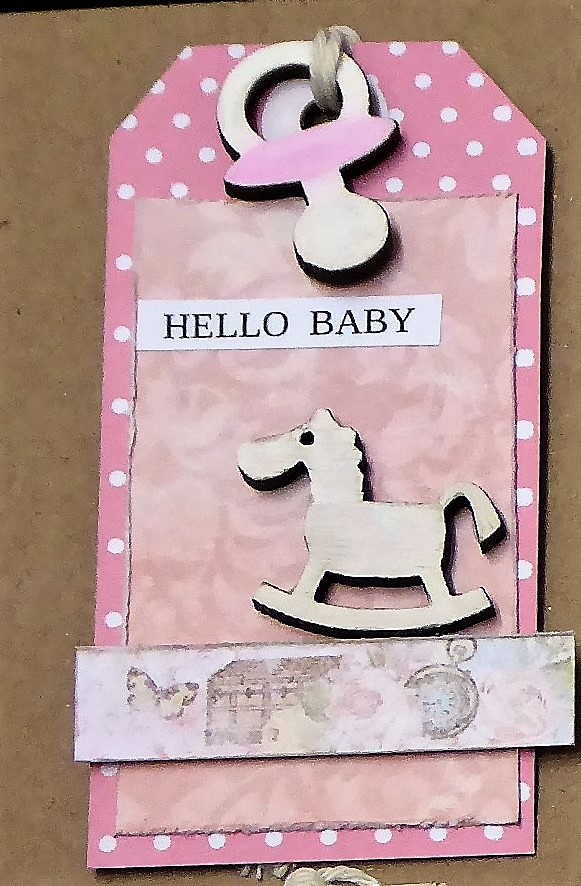
Layer up pretty coordinating papers and add to the tag. Paint the dummy and rocking horse with acrylic paint, add to the tag and finish with the sentiment.
New home tag
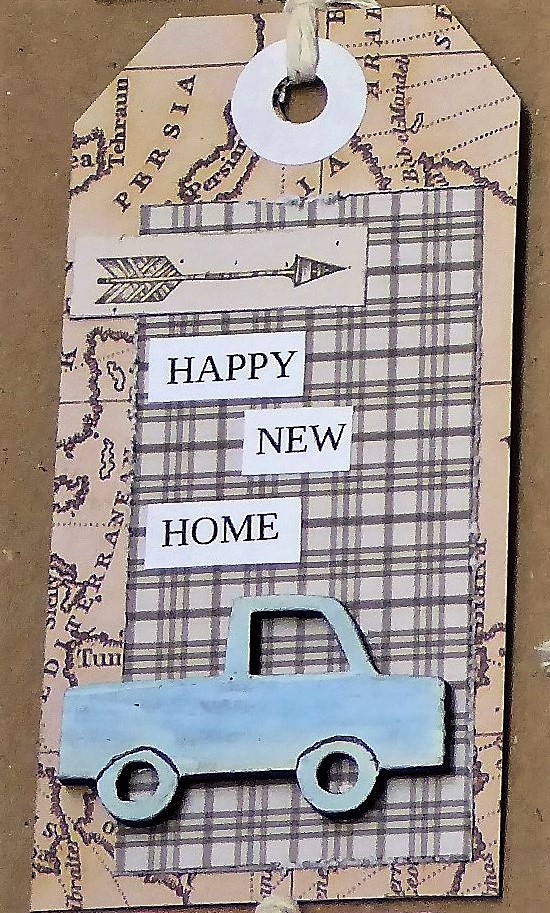
Cover the truck with a Sharpie pen and then a white Posca pen, the colour will bleed through but that is good. Cover the tag with paper and add more scraps of paper to add depth and details. Add black details to the truck with a fineliner then glue to the tag. Add the sentiment to finish the tag.
Star tag
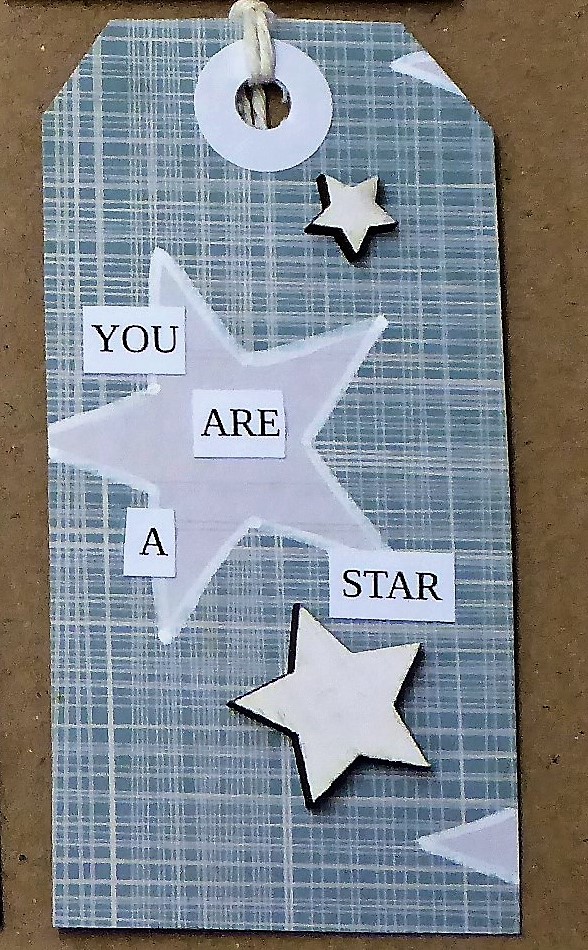
Use a scrap of star paper to cover the tag, use a star shaped foam stamp to add a white star to the tag and outline with a white gel pen. Colour the stars with a Posca pen and add to the tag, finish with the sentiment.
Take Time tag
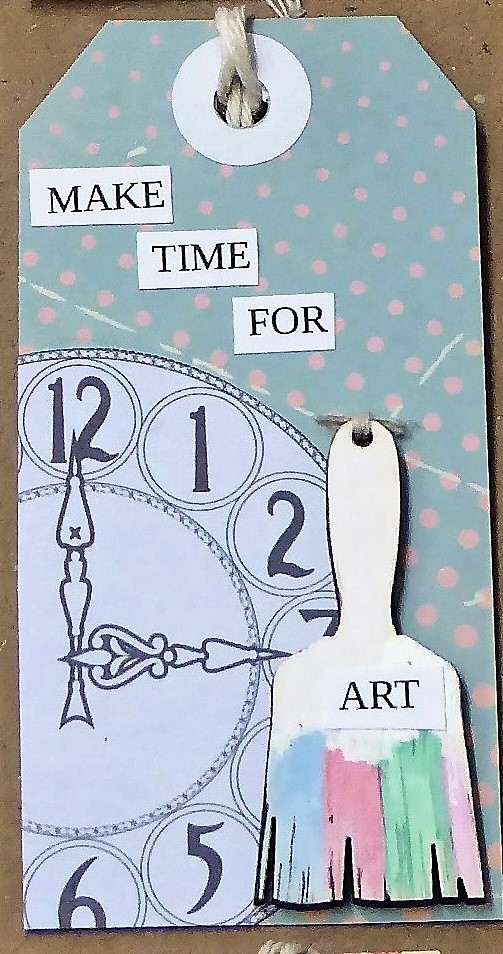
Cover the tag with a patterned paper and add a clock shaped scrap of paper to one side. Colour the paint brush with white acrylic paint, dry and then add several colours to the bristles. Finish the tag by gluing on the brush and then adding the sentiment.
Party person tag
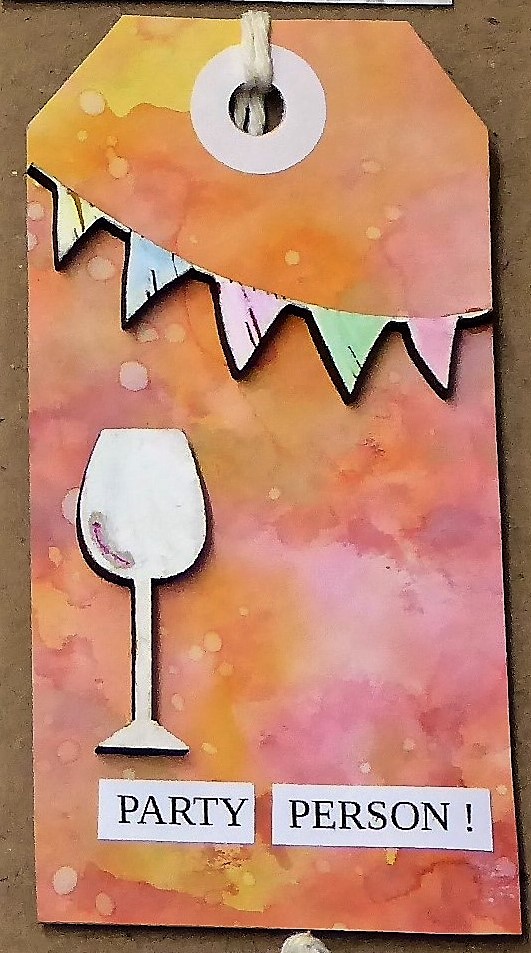
As with some of the other tags, colour the bunting with Sharpie pens and then white posca pens over the top straight away so the colour bleeds through a little.
Cover the tag with a Distress oxide background paper scrap and add the bunting and sentiment.
I would love to see what you create using the pick and mix shapes so please share in the Facebook group mentioning this blog post and tagging me.
Have fun and happy crafting.
Mags x
Checkout Mags blog HERE
To keep up to date with the blog and for exclusive offers and discounts why not Sign up for the Samantha K newsletter?
[mc4wp_form id=”1900″]


