
Hi Everyone,
Sam here 🙂
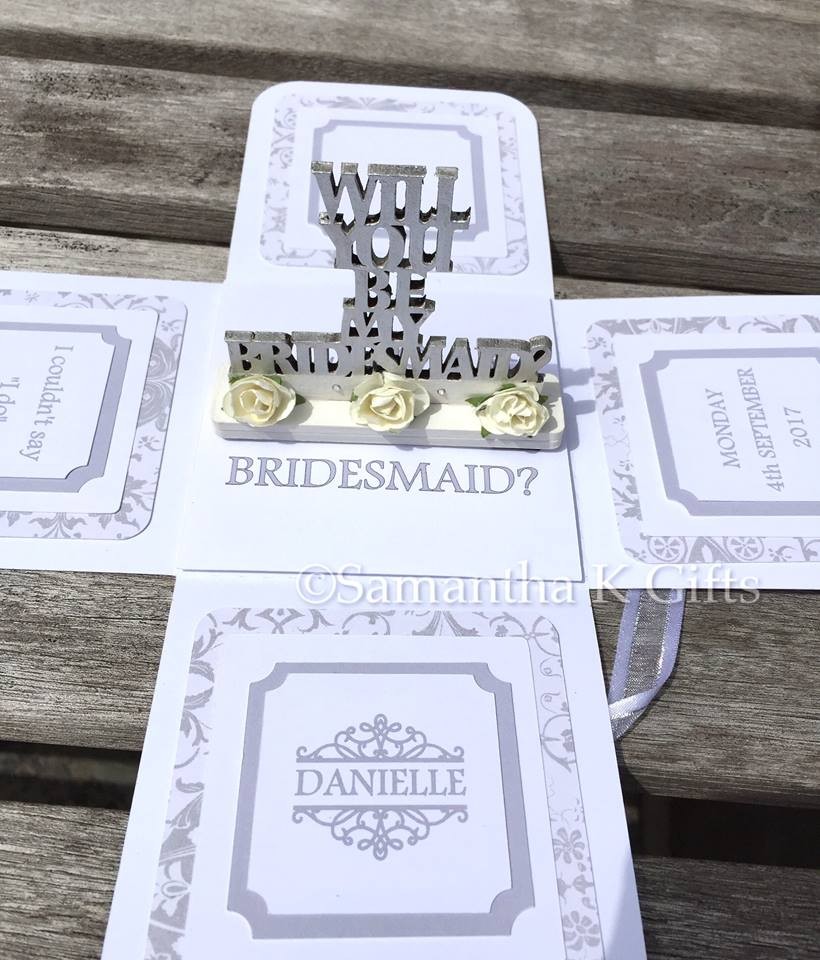
Today I thought i would share with you my process when making my ‘Will you be’ exploding box cards.
Maybe you make box cards and fancy a different take on them? Maybe you would like to make your own for a special occasion?
Making the card:
The first thing I did was get all my pieces together (ingredients list at the bottom).
Using a heavy weight pure white card stock. I cut out all of my layers for the card / box section. I used my Silhouette cameo to do the cutting for this.
Using a versamark ink and script stamp, I added sticky embossing powder to the outside of the box section.
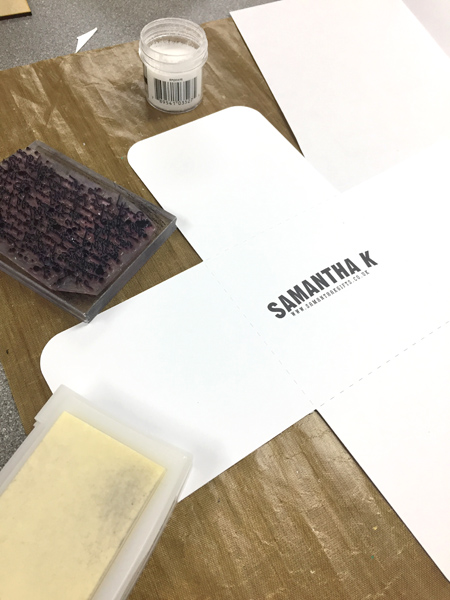

I then added silver gilding flakes to the sticky sections and using a sponge rubbed off the excess flakes, to leave an elegant looking silver script.


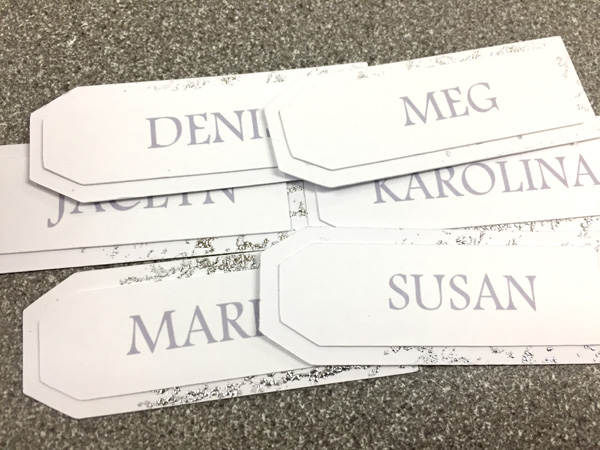
I did the same with the tags, before adding the top layer of the tag (with the writing on). I then added a small diamonte onto the tag.
For your tag you can either pop a hole in it, so you can add it to your ribbon, or you can pop a pearl or embellishment where the hole would be and adhere the top to the lid, I would recommend writing on the tag first or leaving it loose to write on, with a little bit of double sided tape on the back, ready for popping on after its written.
I like sticking mine to the top as its always there then and won’t get lost if it slides off the ribbon.
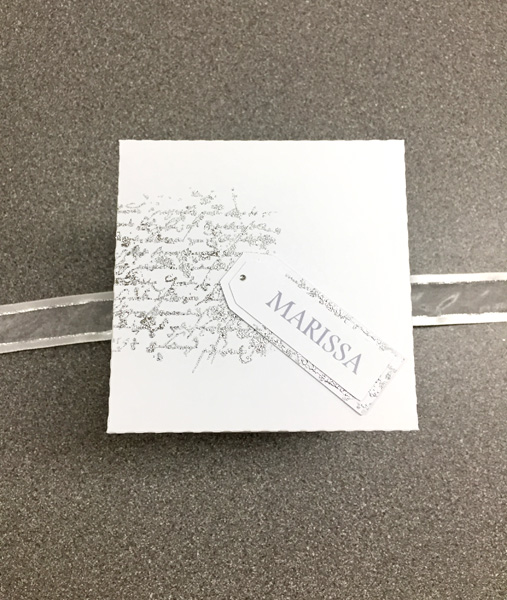
Attach some appropriate coloured ribbon to the box outer, I used extra strong double sided (red) tape at the bottom and a bit on each side, this holds the ribbon flat and in place and when the flaps are lifted and the lid popped on, you can tie your ribbon to hold everything in place and to leave you with a beautiful looking box.
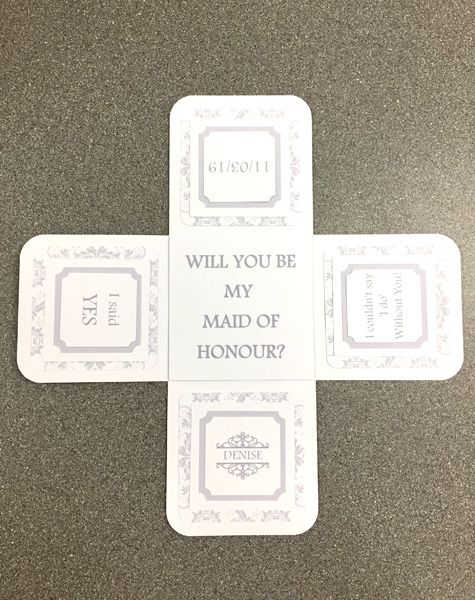
Inside you can add the layers to the box flap sections (except the very centre one). I don’t use glue on these, this is because I don’t want to risk them getting even slightly warped from wet glue, so I use double sided tape.
Plus I like them not to be completely stuck down flat, I like to see the layers as such.
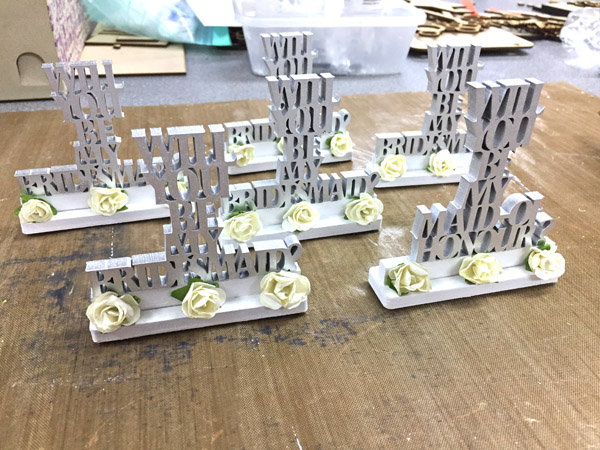
For the centre piece I used an MDF item made especially to fit into the box, allowing it to close perfectly when inside. It was cut from 6mm thick MDF and then painted silver with a white base. I adhered some paper roses to the base section, that fitted with the colour scheme. To the bottom of these I added two sections of magnetic tape. I also added two sections of magnetic tape to the card base, that aligned with the strips on the centre piece.
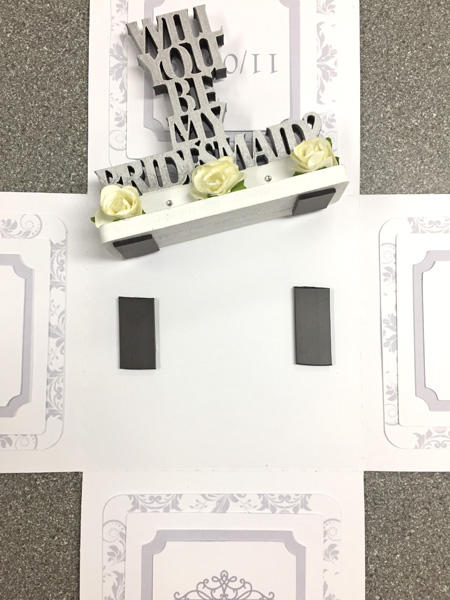
I then used a red foam tape that was the same height as the magnetic tape, all around the magnet strips on the card base. To this i stuck the centre paper layer that has the same message as the standing centre piece. Now the card looks complete when the stand is removed, but the stand stays firmly in place when put into the centre. Meaning it will be in position when the recipient opens it, yet they can easily remove it and keep it as a keepsake or pop it on display.

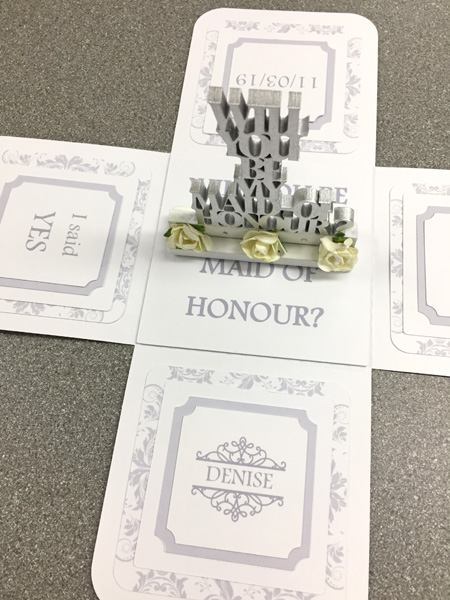
And that’s it all finished 🙂 You can make the card in any colours and you can add any elements/quotes etc that you would like.
Ingriedients
Cardstock – Pure White – 300gsm+ for box.
Patterned card stock to match the colour scheme
Card template, Silhouette cutting file – Available HERE I didn’t use the cake tier portions for this version
Versamark, Sticky embossing powder, script (or Other) stamp
Silver gilding flakes
Glue
MDF centre piece – Available HERE
Double sided normal tape, red tape & red foam tape
Magnetic Tape
Diamonte or small embellishment (optional)
Ribbon & paper flowers to match the colour scheme
Thank you for taking the time to read this post and if you liked it, why not share it? If you want to be sure not to miss out on future posts, with hints, tips and freebies then why not add your email address below so you can receive notifications of new posts 🙂
Sam
Why not sign up for our newsletter?Hello All,
I posted yesterday on Facebook and since then I have been messaged by a few people asking what i would pick 3D printer wise. So i thought i would share this here and there incase anyone is interested.
These are my opinions only and i would 100% recommend anyone do their own research before purchasing a 3D printer. There are lots of other brands out there, Anycubic and Creality were two other brands i looked at, but for me Elegoo always seem to be slightly ahead or the same specs for less money and they have a great reputation in the industry.
If i couldn’t have got the Saturn, I would have gone for the Mars 2 pro, however the mars 2 is just as good if you want to save some pennies, the main differences between these two, are the pro has a very marginly bigger build area, has air filtration, has aluminum vat and knobs rather than plastic and a few more bits. None affect the quality of the models that come off though as both have the same light source/screen.
I would not go for the Mars (not linked) as the improvements between that and the 2 were quite a jump, including the much better mono screen and its all about the screen with these machines ? (well kinda lol)
I have linked the two mentioned below on Amazon as this is the best price i found, especially as a prime member and today being the last day of prime deals you get a chunk off, in fact with your savings you can get a bottle of resin for the printer and still have change from the normal price
Hope this helps (remember the prime member prices are only whilst prime day is on!)
Sam x
Mars 2 £200 – £152 if prime member https://amzn.to/3j1IcVp
Mars 2 pro £280 – £224 if prime member https://amzn.to/2STfono
This is the resin i have purchased to start me £34 for 1000ml – £27.20 if prime member https://amzn.to/3j3o8lE


