Papier-Mâché Easter Bunny project – Decoupage – Diy project tutorial
Here’s your chance to create this funky Easter bunny project, using decoupage!
Step 1.
Prime the brown papier-mâché bunny with white craft paint. This results in the slightly transparent decoupage paper appearing as clearly as possible. Leave to dry.

Step 2.
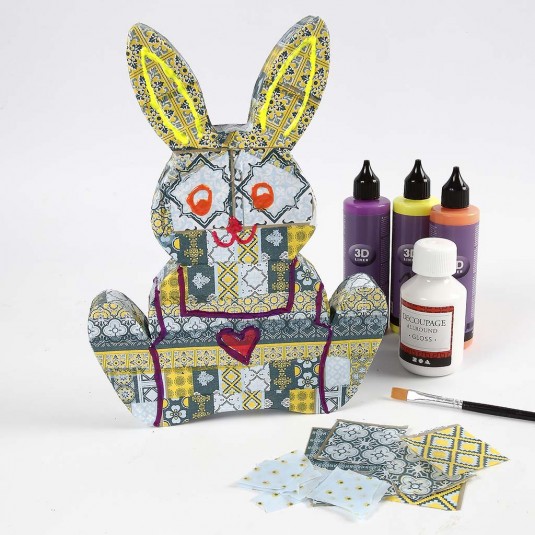
Tear or cut small pieces of decoupage paper. Use decoupage glue (or another equivalent) for attaching the decoupage paper onto the bunny. Most decoupage glues when watered down help create a smooth top coat. Leave to dry.

Step 3.
Draw details on the bunny according to your own imagination using 3D Liners or paint pens.

And your finished!……How funky is this little guy!
Don’t forget to BOOKMARK this page, so you can find it again when you need it.
Why not pop over to our FB page to share your creations?
Regular projects, so keep your eyes peeled 🙂
Have fun creating.
I hope you will pop back again soon for my next post. Please feel free to sign up for the newsletter using the box in the side bar or by entering your email address below. That way you won’t miss out on any hints, tips or Freebies too.
[mc4wp_form id=”1900″]


